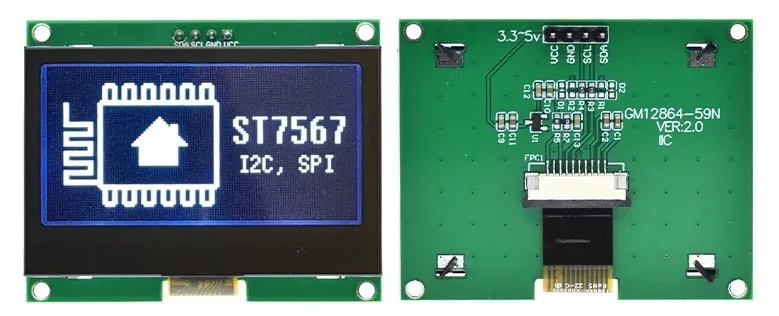
ST7567 LCD Graphic Display
The st7567 display platform allows you to use wide range of 128x64 display modules based on
Sitronix ST7567 chipset family (ST7567A, ST7567S, ST7567G, etc.) (datasheet,
Sitronix) with ESPHome.
Note that this component is for displays that are connected via the I²C Bus (see Over I²C) or 3-Wire or 4-Wire SPI bus (see Over SPI). It’s a monochrome LCD graphic display.
NOTE
Voltage: Check your module specs for required power. Most of the modules are tolerant to range of voltages from 3.3V to 5V, but some might require either 5V or 3.3V.
Electrical interference: To reduce malfunction caused by noise, datasheet recommends to “use the refresh sequence regularly in a specified interval”.
No one knows what exact interval is - it varies based on your electrical environment - some might need it every hour, for example. Without doing refresh sequence picture on LCD might get glitchy after some time.
You can plan refresh by using interval: section and calling request_refresh() function, after that it will perform display
refresh sequence on next component update.
Over I²C
Section titled “Over I²C”Connect SDA and SCL pins on a module to pins you chose for the I²C Bus.
If your display module has RESET pin you may optionally connect it to a pin on the
ESP which may improve reliability. For power, connect VCC to 3.3V and GND to GND.
# Example minimal configuration entryi2c:  sda: D1  scl: D2
display:  - platform: st7567_i2c    id: my_display    lambda: |-      it.print(0, 0, id(my_font), "Hello World!");
interval:  - interval: 1h    then:      - lambda: id(my_display).request_refresh();
Configuration variables
Section titled “Configuration variables”-
address (Optional, int): Manually specify the I²C address of the display. Defaults to 0x3F.
-
i2c_id (Optional, ID): Manually specify the ID of the I²C Component if you want to use multiple I²C buses.
-
reset_pin (Optional, Pin Schema): The RESET pin. Defaults to not connected.
-
id (Optional, ID): Manually specify the ID used for code generation.
-
update_interval (Optional, Time): The interval to re-draw the screen. Defaults to
1s. -
pages (Optional, list): Show pages instead of a single lambda. See Display Pages.
-
lambda (Optional, lambda): The lambda to use for rendering the content on the display.
-
invert_colors (Optional, boolean): Display hardware color invesion. Defaults to
false. -
rotation (Optional): Set the rotation of the display. Everything you draw in
lambda:will be rotated by this option. One of0°(default),90°,180°,270°. -
transform (Optional): Transform the display presentation using hardware. All defaults are
false.- mirror_x (Optional, boolean): If true, mirror the physical X axis.
- mirror_y (Optional, boolean): If true, mirror the physical Y axis.
Speeding up the bus: To speed up the display update process you can select higher I²C frequencies, for example:
# Example increased I²C bus speedi2c: sda: D1 scl: D2 frequency: 400kHzHardware rotation: 180 degree rotation can be implemented in hardware as in the following example:
# Example using transform section to achieve 180° rotation using hardwaredisplay: - platform: st7567_i2c id: my_display transform: mirror_x: true mirror_y: true lambda: |- it.print(0, 0, id(my_font), "Hello World!");Over SPI
Section titled “Over SPI”Connect D0 to the CLK pin you chose for the SPI bus, connect D1 to the MOSI pin and DC and CS
to some GPIO pins on the ESP. For power, connect VCC to 3.3V and GND to GND.
Optionally you can also connect the RESET pin to a pin on the ESP which may improve reliability.
# Example minimal configuration entryspi:  clk_pin: D1  mosi_pin: D2
display:  - platform: st7567_spi    id: my_display    dc_pin: D3    lambda: |-      it.print(0, 0, id(my_font), "Hello World!");
interval:  - interval: 1h    then:      - lambda: id(my_display).request_refresh();
Configuration variables
Section titled “Configuration variables”-
dc_pin (Required, Pin Schema): The DC pin.
-
cs_pin (Optional, Pin Schema): The Chip Select (CS) pin.
-
reset_pin (Optional, Pin Schema): The RESET pin. Defaults to not connected.
-
spi_id (Optional, ID): Manually specify the ID of the SPI Component if you want to use multiple SPI buses.
-
id (Optional, ID): Manually specify the ID used for code generation.
-
update_interval (Optional, Time): The interval to re-draw the screen. Defaults to
1s. -
pages (Optional, list): Show pages instead of a single lambda. See Display Pages.
-
lambda (Optional, lambda): The lambda to use for rendering the content on the display.
-
invert_colors (Optional, boolean): Display hardware color invesion. Defaults to
false. -
rotation (Optional): Set the rotation of the display. Everything you draw in
lambda:will be rotated by this option. One of0°(default),90°,180°,270°. -
transform (Optional): Transform the display presentation using hardware. All defaults are
false.- mirror_x (Optional, boolean): If true, mirror the physical X axis.
- mirror_y (Optional, boolean): If true, mirror the physical Y axis.
Hardware rotation: 180 degree rotation can be implemented in hardware as in the following example:
# Example using transform section to achieve 180° rotation using hardwaredisplay: - platform: st7567_spi id: my_display dc_pin: D3 transform: mirror_x: true mirror_y: true lambda: |- it.print(0, 0, id(my_font), "Hello World!");