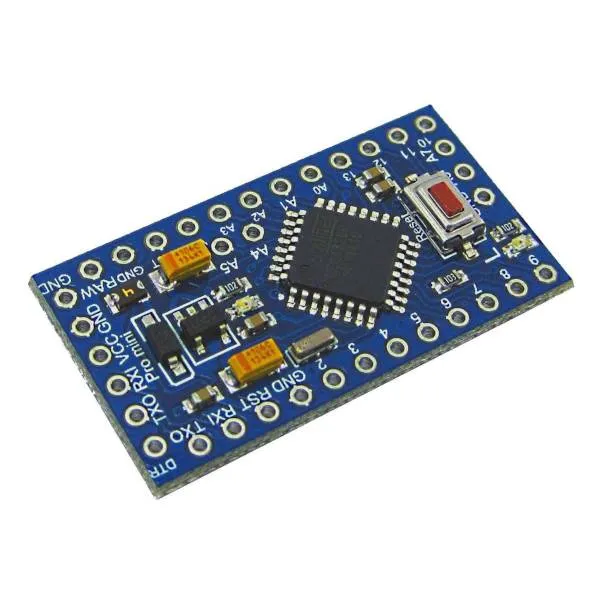
Arduino Port Expander
With this sketch you can control pins of a remote Arduino board through ESPHome. The Arduino acts as a port expander, allowing you to use more pins than a standard ESP8266/ESP32 has.
The Arduino is connected to the ESP via I²C. Most Arduinos use the A4 and A5 pins for the I²C bus
so those pins are not available to read from ESPHome.
It is recommended to use a 3.3V I/O level Arduino, however using 5V Arduinos seems to work too. In the latter
case you should power your 5V Arduino with 3.3V otherwise you will need a level converter for the
I²C bus.
Currently it is supported:
- reading digital inputs
- reading analog inputs
- writing digital outputs
The Arduino sketch can be retrieved from this gist
you can rename it to .ino and use the Arduino IDE to program it.
You need to download arduino_port_expander.h and include the arduino_port_expander.h in the ESPHome configuration.
esphome: # ... includes: - arduino_port_expander.hSetup your I²C Bus and assign it an id :
i2c: id: i2c_componentBy default ESP8266 uses SDA pin GPIO4 which you need to connect to Arduino’s A4 and the SCL
is GPIO5 which goes to Arduino’s A5.
Then create a custom_component, this will be the main component we will be referencing later when creating
individual IOs.
custom_component: - id: ape lambda: |- auto ape_component = new ArduinoPortExpander(i2c_component, 0x08); return {ape_component};By default the I²C address is 0x08 but you can change it on the Arduino sketch so you can have more devices
on the same bus.
Now it is time to add the ports.
Binary_Sensor
Section titled “Binary_Sensor”When adding binary sensors the pins are configured as INPUT_PULLUP, you can use any PIN from 0 to 13 or
A0 to A3 (A4 and A5 are used for I²C and A6 and A7 do not support internal pull up)
NOTE
Arduino PIN 13 usually has a LED connected to it and using it as digital input with the built in internal pull up might be problematic, using it as an output is preferred.
To setup binary sensors, create a custom platform as below, list in braces all the sensors you want, in the example below two binary sensors are declared on pin 9 and A0 (number 14)
Then declare the ESPHome reference of the binary sensor in the same order as declared in the lambda:
binary_sensor:  - platform: custom    lambda: |-      return {ape_binary_sensor(ape, 9),              ape_binary_sensor(ape, 14) // 14 = A0              };
    binary_sensors:      - id: binary_sensor_pin2        name: Binary sensor pin 2      - id: binary_sensor_pin3        name: Binary sensor pin 3        on_press:          ...
The listed binary_sensors supports all options from Binary Sensor like
automations and filters.
Sensor
Section titled “Sensor”Sensors allows for reading the analog value of an analog pin, those are from A0 to A7 except for
A4 and A5. The value returned goes from 0 to 1023 (the value returned by the Arduino analogRead
function).
Arduino analog inputs measures voltage. By default the sketch is configured to use the Arduino internal VREF comparer setup to 1 volt, so voltages bigger are read as 1023. You can configure Arduino to compare the voltage to VIN voltage, this voltage might be 5 volts or 3.3 volts, depending on how you are powering it. To do so, pass an additional true value to the hub constructor:
auto ape_component = new ArduinoPortExpander(i2c_component, 0x08, true);To setup sensors, create a custom platform as below, list in braces all the sensors you want,
in the example below two sensors are declared on pin A1 and A2
Then declare the ESPHome reference of the sensor in the same order as declared in the lambda:
sensor: - platform: custom lambda: |- return {ape_analog_input(ape, 1), // 1 = A1 ape_analog_input(ape, 2)}; sensors: - name: Analog A1 id: analog_a1 filters: - throttle: 1s - name: Analog A2 id: analog_a2 filters: - throttle: 2sThe listed sensors supports all options from Sensor like
automations and filters.
NOTE
Sensors are polled by default every loop cycle so it is recommended to use the throttle filter
to not flood the network.
Output
Section titled “Output”Arduinos binary outputs are supported in pins from 0 to 13.
To setup outputs, create a custom platform as below, list in braces all the outputs you want,
in the example below two outputs are declared on pin 3 and 4
output:- platform: custom  type: binary  lambda: |-    return {ape_binary_output(ape, 3),            ape_binary_output(ape, 4)};  outputs:    - id: output_pin_3      inverted: true    - id: output_pin_4      inverted: true
switch:  - platform: output    name: Switch pin 3    output: output_pin_3
light:  - platform: binary    name: Switch pin 4    output: output_pin_4
Full Example
Section titled “Full Example”Let’s connect a 4 channel relay board and 2 push buttons to toggle the relays, a PIR sensor, a window and a door a LM35 temperature sensor and a voltage sensor. Seems a bit too much for an ESP8266? You’ll still have some spares I/Os.
esphome:  name: test_arduino  includes:    - arduino_port_expander.h
esp8266:  board: nodemcu
wifi:  ssid: !secret wifi_ssid  password: !secret wifi_password
api:
ota:  platform: esphome
# define i2c device# for an ESP8266 SDA is D2 and goes to Arduino's A4#                SCL is D1 and goes to Arduino's A5i2c:  id: i2c_component
logger:  level: DEBUG
# define the port expander hub, here we define one with id 'expander1',# but you can define manycustom_component:  - id: expander1    lambda: |-      auto expander = new ArduinoPortExpander(i2c_component, 0x08, true);      return {expander};
# define binary outputs, here we have 4, as the relays are inverse logic# (a path to ground turns the relay ON), we defined the inverted: true# option of ESPHome outputs.output:- platform: custom  type: binary  lambda: |-    return {ape_binary_output(expander1, 2),            ape_binary_output(expander1, 3),            ape_binary_output(expander1, 4),            ape_binary_output(expander1, 5)};
  outputs:    - id: relay_1      inverted: true    - id: relay_2      inverted: true    - id: relay_3      inverted: true    - id: relay_4      inverted: true
# connect lights to the first 2 relayslight:  - platform: binary    id: ceiling_light    name: Ceiling light    output: relay_1  - platform: binary    id: room_light    name: Living room light    output: relay_2
# connect a fan to the third relayfan:- platform: binary  id: ceiling_fan  output: relay_3  name: Ceiling fan
# connect a pump to the 4th relayswitch:  - platform: output    name: Tank pump    id: tank_pump    output: relay_4
# define binary sensors, use the Arduino PIN number for digital pins and# for analog use 14 for A0, 15 for A1 and so on...binary_sensor:  - platform: custom    lambda: |-      return {ape_binary_sensor(expander1, 7),              ape_binary_sensor(expander1, 8),              ape_binary_sensor(expander1, 9),              ape_binary_sensor(expander1, 10),              ape_binary_sensor(expander1, 14) // 14 = A0              };
    binary_sensors:      - id: push_button1        internal: true # don't show on HA        on_press:          - light.toggle: ceiling_light      - id: push_button2        internal: true # don't show on HA        on_press:          - light.toggle: room_light      - id: pir_sensor        name: Living PIR        device_class: motion      - id: window_reed_switch        name: Living Window        device_class: window      - id: garage_door        name: Garage garage        device_class: garage_door
# define analog sensorssensor:  - platform: custom    lambda: |-      return {ape_analog_input(expander1, 1),  // 1 = A1              ape_analog_input(expander1, 2)};    sensors:      - name: LM35 Living room temperature        id: lm35_temp        filters:          # update every 60s          - throttle: 60s          # LM35 outputs 0.01v per ºC, and 1023 means 3.3 volts          - lambda: return x * 330.0 / 1023.0;      - name: Analog A2        id: analog_a2        filters:          - throttle: 2s