Getting Started with the ESPHome Command Line
ESPHome is the perfect solution for creating custom firmwares for your ESP8266/ESP32 boards. In this guide we’ll go through how to set up a basic “node” in a few simple steps.
Installation
Section titled “Installation”See Installing Esphome.
If you’re familiar with Docker, you can use that instead! Note that on macOS Docker can not pass USB devices through. You will not be able to flash ESP devices through USB on Mac, all other features will work. Flashing with web dashboard is still possible.
Our image supports AMD64, ARM and ARM64 (AARCH64), and can be downloaded with:
docker pull ghcr.io/esphome/esphomeIf you want to use docker-compose instead, here’s a sample file:
services: esphome: container_name: esphome image: ghcr.io/esphome/esphome volumes: - /path/to/esphome/config:/config - /etc/localtime:/etc/localtime:ro restart: always privileged: true network_mode: host environment: - USERNAME=test - PASSWORD=ChangeMeNOTE
If you are using NFS share to back your container’s config volume, you may
need to mount the volume with the nolock option, otherwise platformio may
freeze on container startup as per platformio/platformio-core#3089
WARNING
Running ESPHome in Docker on WSL2 can be significantly slower
(10x or more) than native Linux or a traditional VM due to filesystem performance
issues when accessing files on Windows drives. For better performance, store your
ESPHome files inside the WSL2 filesystem (e.g., ~/esphome/...)
rather than on a Windows mount (e.g., /mnt/c/...). See esphome#12568
for more details.
The project provides multiple docker tags; please pick the one that suits you better:
-
latestandstablepoint to the latest stable release available. It’s not recommended to automatically update the container based on those tags because of the possible breaking changes between releases. -
Release-tracking tag
YEAR.MONTH(e.g.2022.8) points to the latest stable patch release available within the required version. There should never be a breaking change when upgrading the containers based on tags like that. -
betapoints to the latest released beta version, and to the latest stable release when there is no fresh beta release. -
devis the bleeding edge release; built daily based on the latest changes in thedevbranch.
Connecting the ESP Device
Section titled “Connecting the ESP Device”Follow the instructions in Physical Device Connection to connect to your ESP device.
NOTE
The most difficult part of setting up a new ESPHome device is the initial installation. Installation requires that your ESP device is connected with a cable to a computer. Later updates can be installed wirelessly.
Creating a Project
Section titled “Creating a Project”Now let’s setup a configuration file. Fortunately, ESPHome has a
friendly setup wizard that will guide you through creating your first
configuration file. For example, if you want to create a configuration
file called livingroom.yaml :
esphome wizard livingroom.yaml# On Docker:docker run --rm -v "${PWD}":/config -it ghcr.io/esphome/esphome wizard livingroom.yamlAt the end of this step, you will have your first YAML configuration file ready. It doesn’t do much yet and only makes your device connect to the WiFi network, but still it’s a first step.
Adding some features
Section titled “Adding some features”So now you should have a file called livingroom.yaml (or similar).
Go open that file in an editor of your choice and let’s add a
simpleGPIO switch to our app.
switch: - platform: gpio name: "Living Room Dehumidifier" pin: GPIO5The configuration format should hopefully immediately seem similar to
you. ESPHome has tried to keep it as close to Home Assistant’s
configuration.yaml schema as possible. In the above example, we’re
simply adding a switch that’s called “Living Room Dehumidifier” (could control
anything really, for example lights) and is connected to pin GPIO5.
The nice thing about ESPHome is that it will automatically also try
to translate pin numbers for you based on the board. For example in the
above configuration, if using a NodeMCU board, you could have just as
well set D1 as the pin: option.
First uploading
Section titled “First uploading”Now you can go ahead and add some more components. Once you feel like
you have something you want to upload to your ESP board, simply plug in
the device via USB and type the following command (replacing
livingroom.yaml with your configuration file):
esphome run livingroom.yamlYou should see ESPHome validating the configuration and telling you about potential problems. Then ESPHome will proceed to compile and upload the custom firmware. You will also see that ESPHome created a new folder with the name of your node. This is a new PlatformIO project that you can modify afterwards and play around with.
If you are running docker on Linux you can add --device=/dev/ttyUSB0
to your docker command to map a local USB device. Docker on Mac will not be able to access host USB devices.
docker run --rm --privileged -v "${PWD}":/config --device=/dev/ttyUSB0 -it ghcr.io/esphome/esphome run livingroom.yamlNOTE
Alternatively, you can flash the binary using ESPHome Web or esptool.
Now when you go to the Home Assistant Integrations screen (under Configuration panel), you
should see the ESPHome device show up in the discovered section (although this can take up to 5 minutes).
Alternatively, you can manually add the device by clicking CONFIGURE on the ESPHome integration
and entering <NODE_NAME>.local as the host.

After the first upload, you will probably never need to use the USB cable again, as all features of ESPHome are enabled remotely as well. No more opening hidden boxes stowed in places hard to reach. Yay!
Adding A Binary Sensor
Section titled “Adding A Binary Sensor”Next, we’re going to add a very simple binary sensor that periodically checks if a particular GPIO pin is pulled high or low - the GPIO BinarySensor.
binary_sensor: - platform: gpio name: "Living Room Window" pin: number: 16 inverted: true mode: input: true pullup: trueThis is an advanced feature of ESPHome. Almost all pins can optionally have a more complicated configuration schema with options for inversion and pinMode - the Pin Schema.
This time when uploading, you don’t need to have the device plugged in through USB again. The upload will magically happen “over the air”. Using ESPHome directly, this is the same as from a USB cable, but for docker you need to supply an additional parameter:
esphome run livingroom.yaml# On dockerdocker run --rm -v "${PWD}":/config -it ghcr.io/esphome/esphome run livingroom.yamlWhere To Go Next
Section titled “Where To Go Next”Great 🎉! You’ve now successfully set up your first ESPHome project and uploaded your first ESPHome custom firmware to your node. You’ve also learned how to enable some basic components via the configuration file.
So now is a great time to go take a look at the Components. Hopefully you’ll find all sensors/outputs/etc. you’ll need in there. If you’re having any problems or want new features, please either create a new issue on the GitHub issuetracker or find us on the Discord chat (also make sure to read the FAQ).
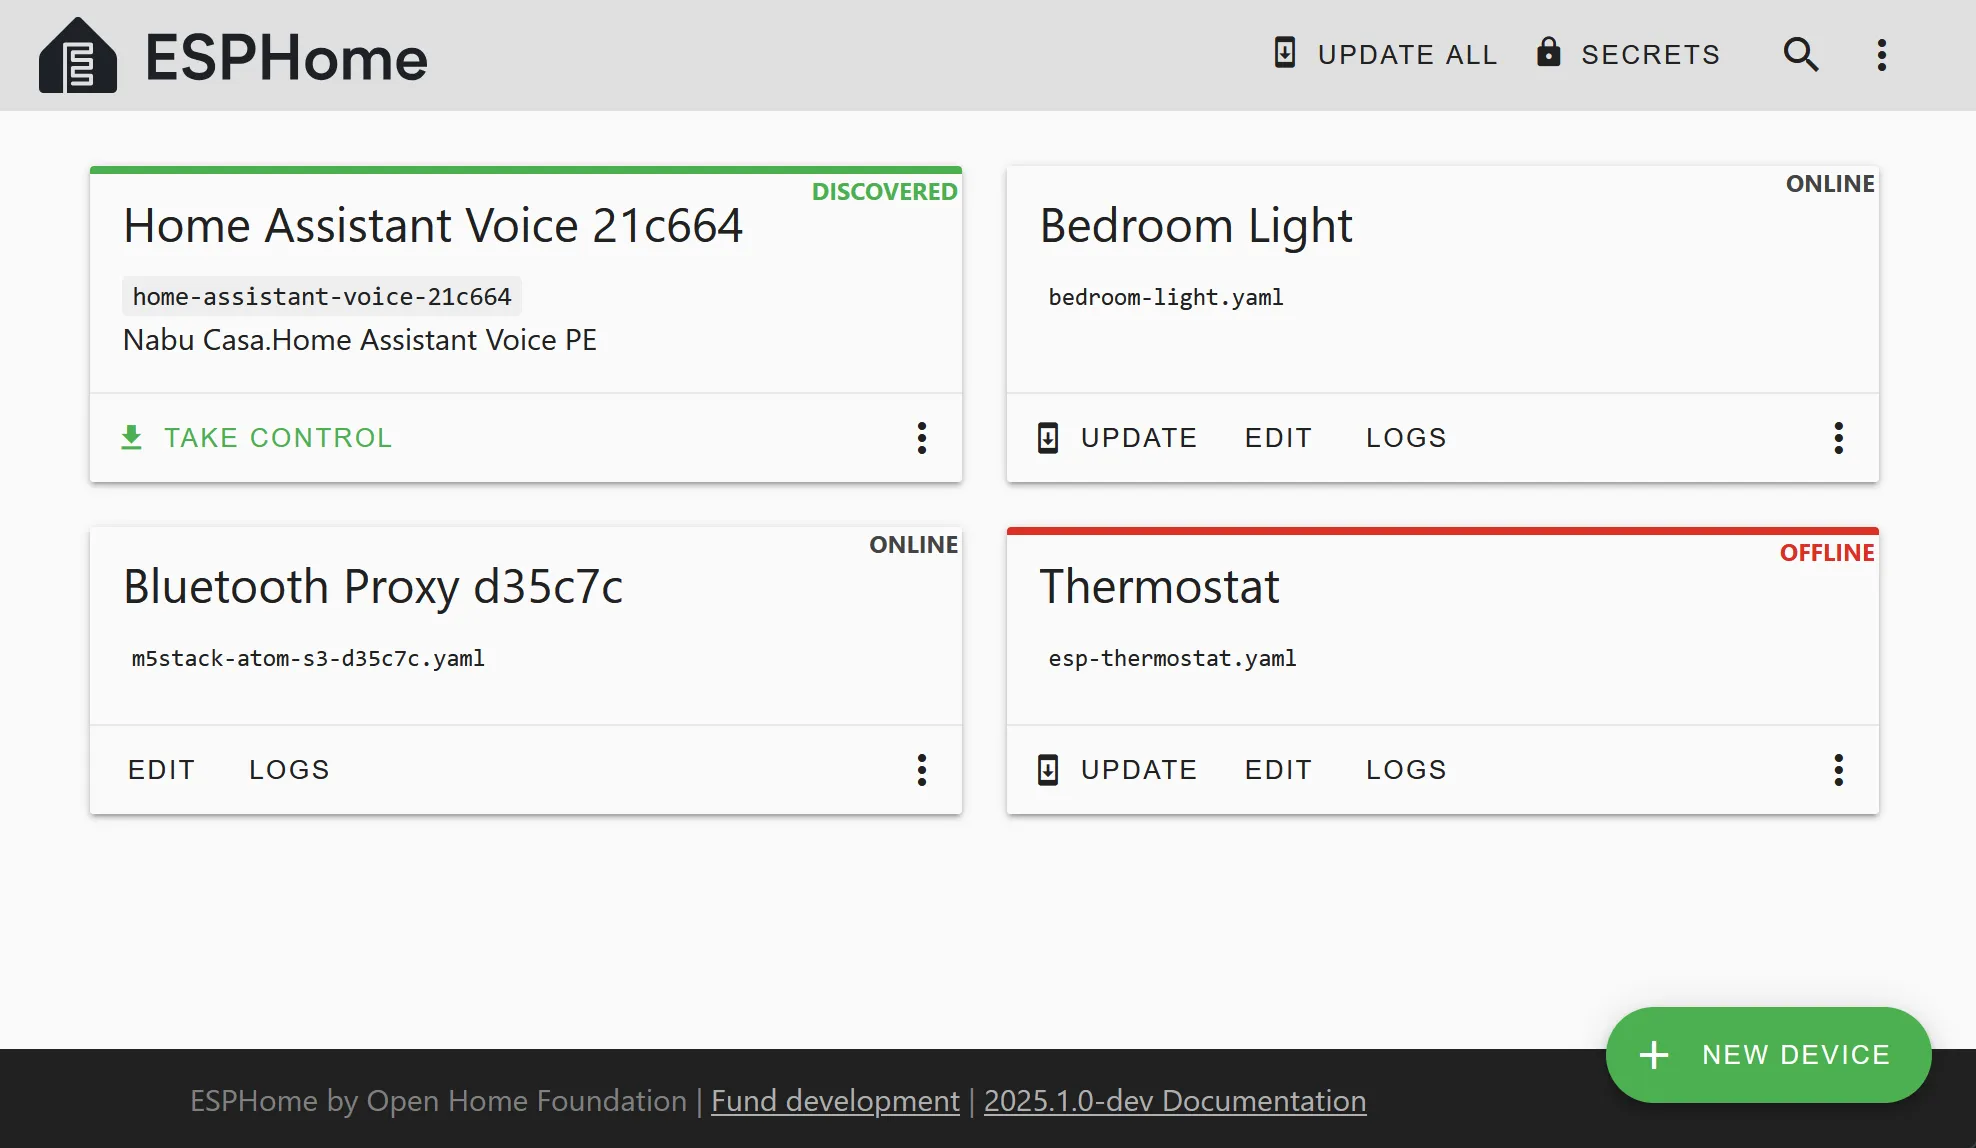
Bonus: ESPHome Device Builder
Section titled “Bonus: ESPHome Device Builder”The ESPHome Device Builder allows you to easily manage your nodes from a nice web interface. It was primarily designed as a Home Assistant app, but can run in docker independently from Home Assistant.
To start the ESPHome Device Builder, simply start ESPHome with the following command (with config/ pointing to a
directory where you want to store your configurations):
# Install dashboard dependenciespip install tornado esptool
# Start the dashboardesphome dashboard config
# On Docker, host networking mode is required for online status indicatorsdocker run --rm --net=host -v "${PWD}":/config -it ghcr.io/esphome/esphome
# On Docker with MacOS, the host networking option doesn't work as expected. An# alternative is to use the following command if you are a MacOS user.docker run --rm -p 6052:6052 -e ESPHOME_DASHBOARD_USE_PING=true -v "${PWD}":/config -it ghcr.io/esphome/esphome
After that, you will be able to access the ESPHome Device Builder at localhost:6052.
Logging level can be set with the env var ESPHOME_LOG_LEVEL (default is INFO).