Infostripe
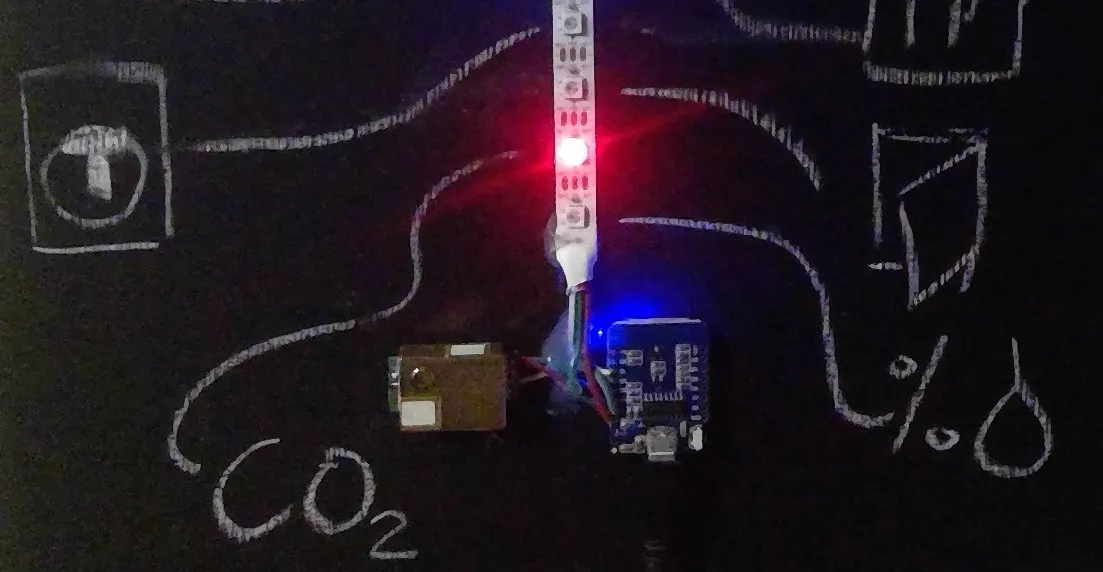
Showing the current status of sensor states using a Neopixel (WS2812B) strip is a simple way to communicate states to the user. Compared to a dashboard screen the infostrip can only communicate the information like a binary sensor.
- color (e.g., red = error/warning, orange = warning, green = ok, blue = active)
- intensity (off, scaled brightness)
- mode (continuous vs. flashing, flashing or strobe is not recommend)
- light position on stripe
ESPHome configuration
Section titled “ESPHome configuration”uart: rx_pin: GPIOXX tx_pin: GPIOXX baud_rate: 9600
sensor: - platform: mhz19 co2: name: "MH-Z19 CO2 Value" temperature: name: "MH-Z19 Temperature" update_interval: 30s
# Monitor the Wifi connection statusbinary_sensor: - platform: status name: "Infostrip Status"
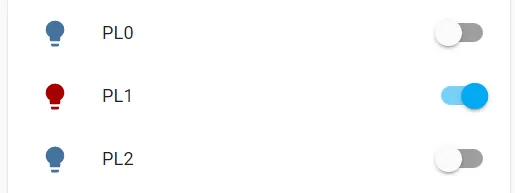
# Configure each pixel as a single light (attention memory consuming)light: - platform: fastled_clockless chipset: WS2812B id: light_fastled pin: GPIOXX num_leds: 4 rgb_order: GRB name: "Infostrip" effects: - strobe: - random: - platform: partition name: "PL0" segments: - id: light_fastled from: 0 to: 0 effects: - strobe: - platform: partition name: "PL1" segments: - id: light_fastled from: 1 to: 1 effects: - strobe: - platform: partition name: "PL2" segments: - id: light_fastled from: 2 to: 2 effects: - strobe: - platform: partition name: "PL3" segments: - id: light_fastled from: 3 to: 3 effects: - strobe:WARNING
Consider the warning in Partition regarging the increased memory usage.
Home Assistant configuration
Section titled “Home Assistant configuration”The automation to show the CO2 warning light (e.g. red if CO2 > 1000 ppm) is done in Home Assistant, but could also be implemented using ESPHome Automations.
# Turn on a light with the related colorautomation:- id: '1601241280015' alias: Light CO2 On description: '' trigger: - platform: numeric_state entity_id: sensor.mh_z19_co2_value above: 1000 condition: [] action: - action: light.turn_on data: color_name: red entity_id: light.pl2 mode: single- id: '1601241280016' alias: Light CO2 Off description: '' trigger: - platform: numeric_state entity_id: sensor.mh_z19_co2_value below: 800 condition: [] action: - action: light.turn_off entity_id: light.pl2 mode: single- alias: "State Light Mapping" trigger: platform: time_pattern # You can also match on interval. This will match every 5 minutes minutes: "/5" action: - action: light.turn_on data_template: entity_id: light.pl1 brightness_pct: 30 color_name: > {% set map = {'on': 'green', 'off': 'red'} %} {% set state = states('binary_sensor.bad_status') %} {{ map[state] if state in map else 'white' }}