HX711 Load Cell Amplifier
The hx711 sensor platform allows you to use your HX711
load cell amplifier
(datasheet, SparkFun) with ESPHome
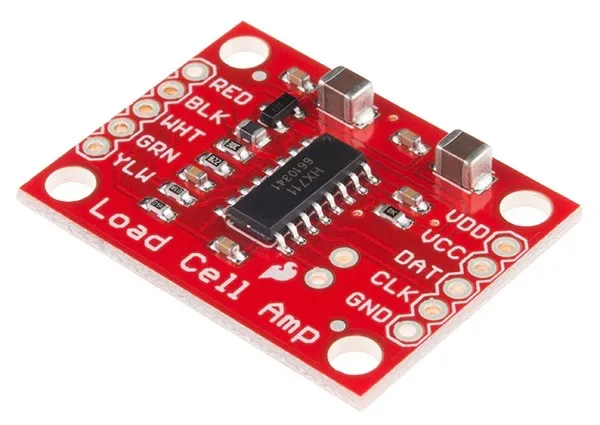
Connect GND to GND, VCC to 3.3V and the other two DOUT (or DT for short)
and CLK (or SCK ) to free GPIO pins.
# Example configuration entrysensor: - platform: hx711 name: "HX711 Value" dout_pin: D0 clk_pin: D1 gain: 128 update_interval: 60sConfiguration variables
Section titled “Configuration variables”-
dout_pin (Required, Pin Schema): The DOUT (or DAT) pin.
-
clk_pin (Required, Pin Schema): The CLK pin.
-
gain (Optional, enum): The gain. Implicitly selects the channel. Defaults to
128.32(Channel B, gain 32)64(Channel A, gain 64)128(Channel A, gain 128)
-
update_interval (Optional, Time): The interval to check the sensor. Defaults to
60s. -
All other options from Sensor.
Converting Units
Section titled “Converting Units”As the HX711 does not have any calibration data, you have to convert the measurement to units yourself. To calibrate the sensor:
- Place a zero load or a known mass on the sensor, for example
0kg - Wait for the data to arrive in the logs and write down the value. For example
120. - Place another (different) known mass on the sensor, for example
1kg - Again wait for the data to arrive and note the value, for example
810.
Once you've done those steps, you can use the calibrate_linear filter to map the incoming value
to the calibrated one:
# Example configuration entrysensor: - platform: hx711 # ... Other HX711 options filters: - calibrate_linear: - 120 -> 0 - 810 -> 1 unit_of_measurement: kgReplace the masses and values 120.0, 810.0, etc with your values.